
Posted At: Jul 29, 2026 - 179 Views
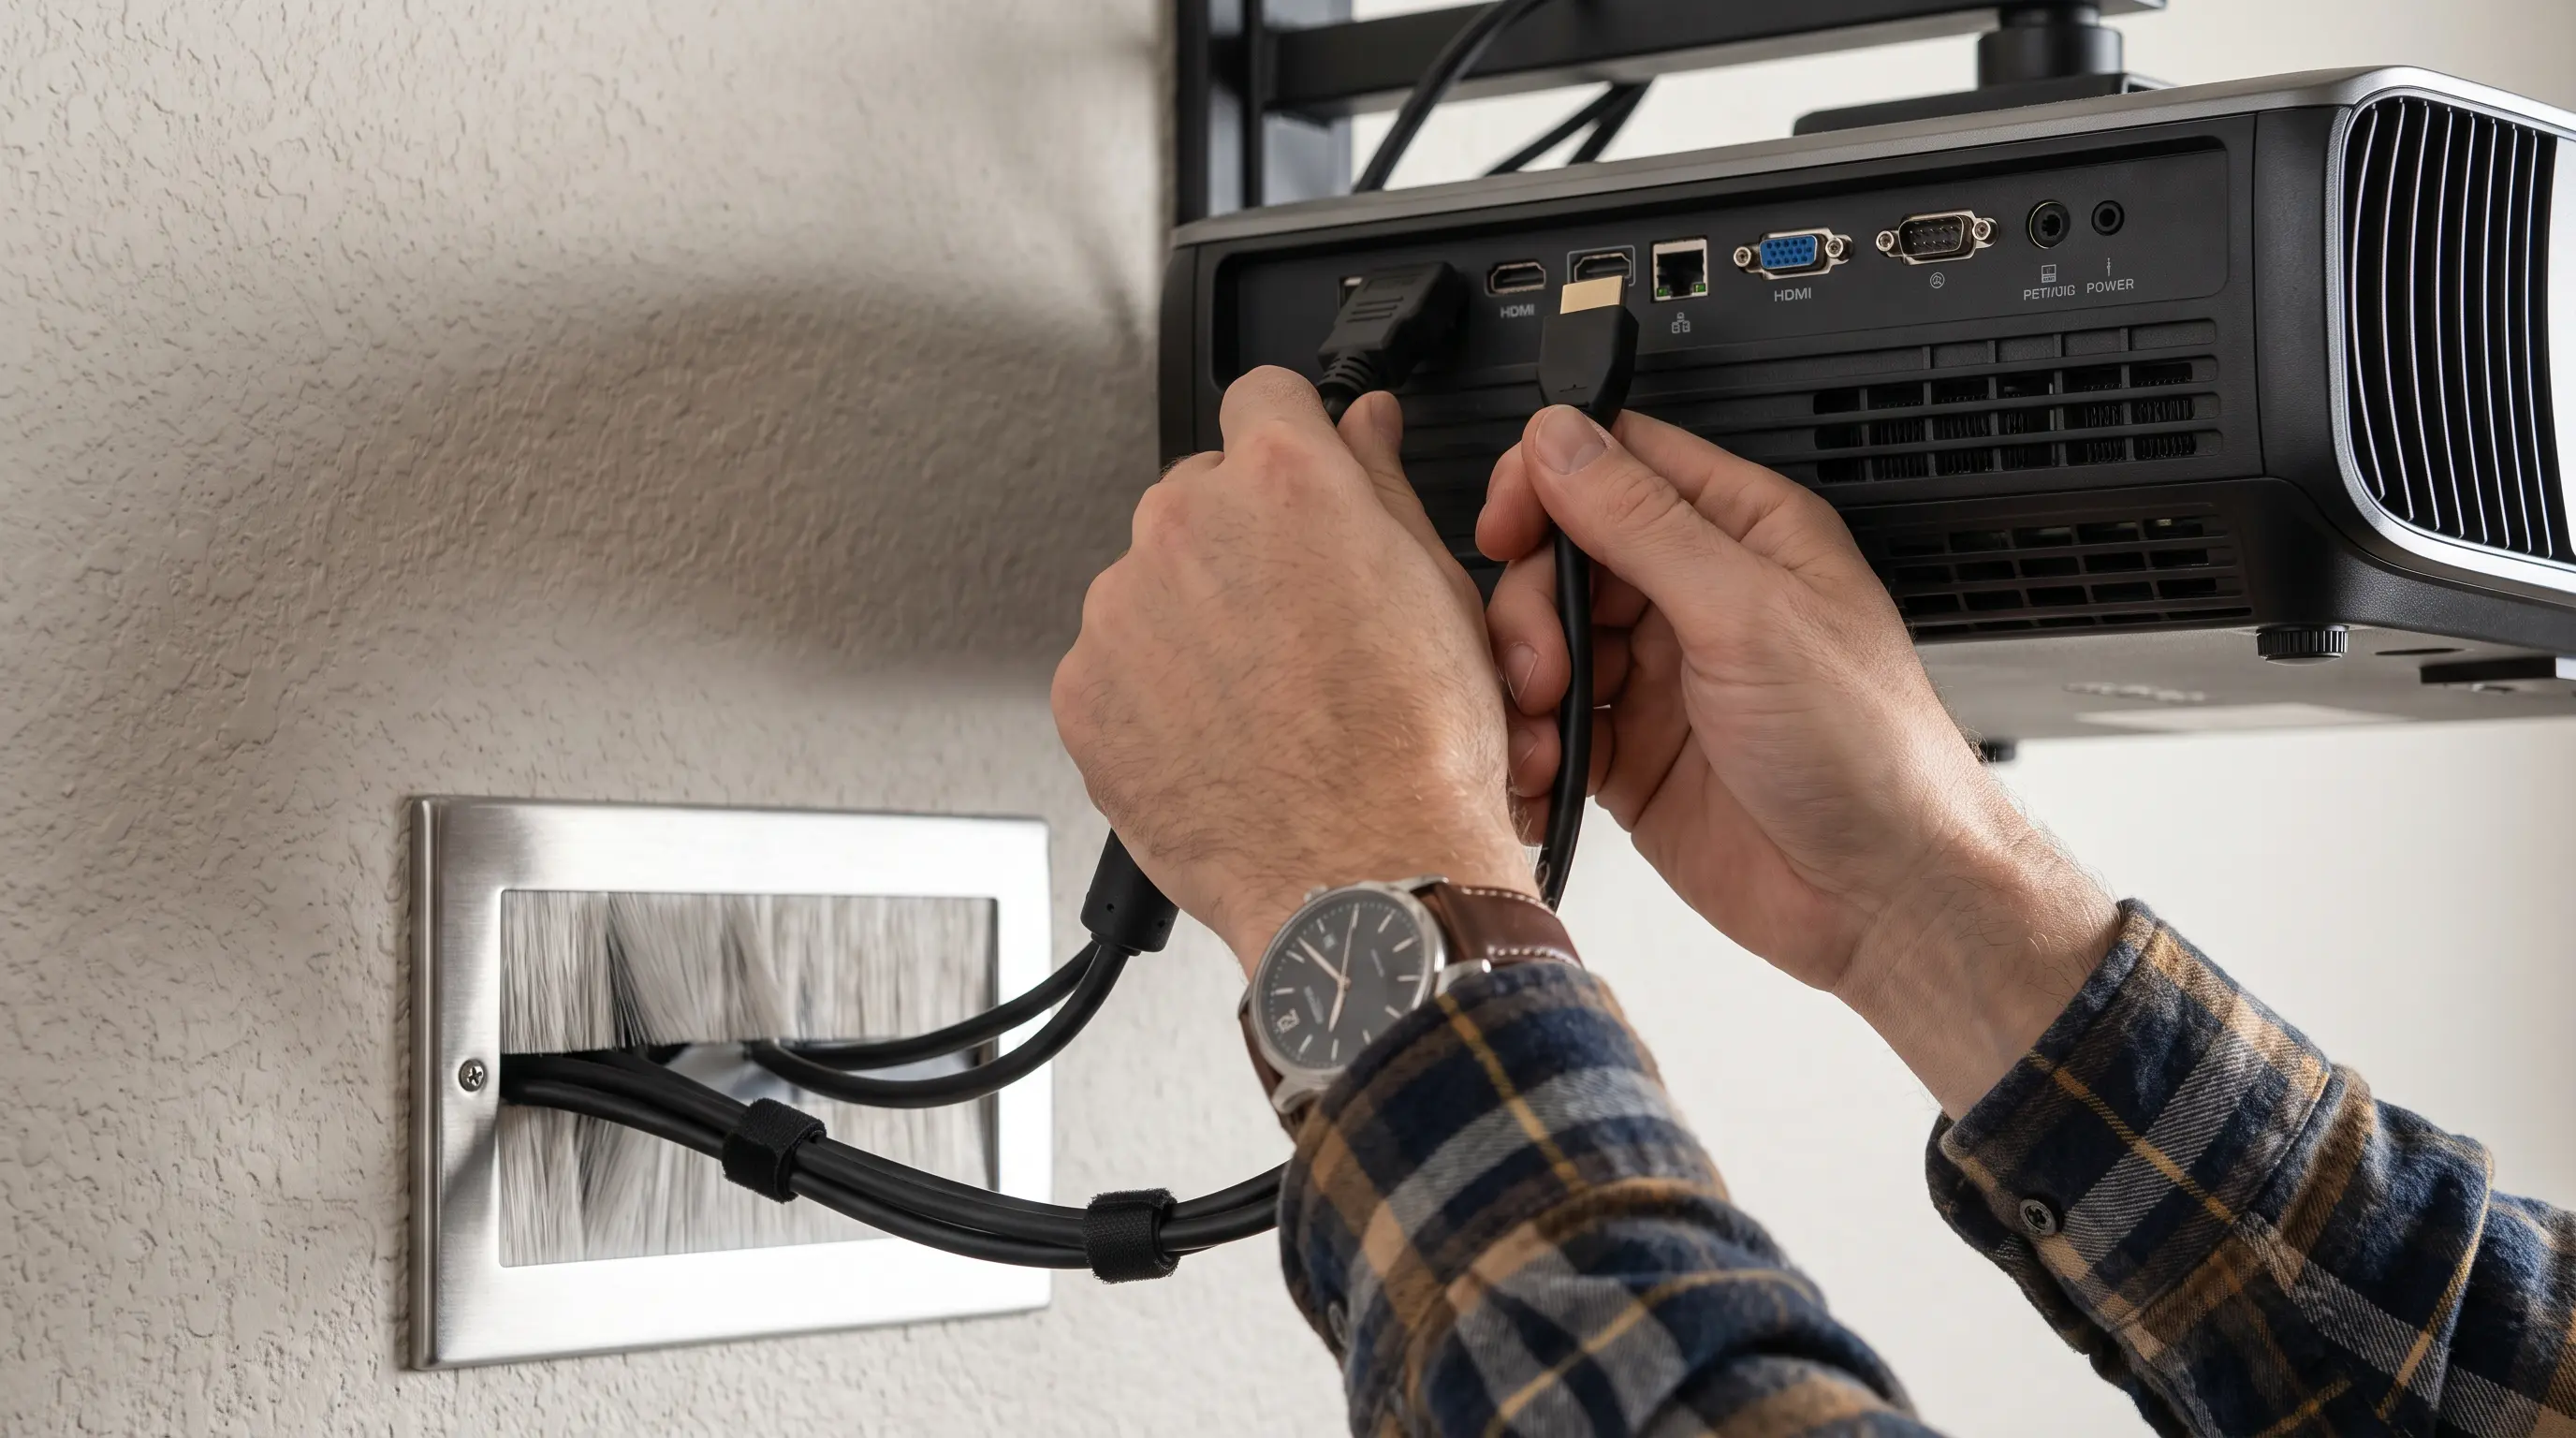
How to Enable CEC on a Projector: A Step-by-Step 2026 Guide
When you need to sync a projector with other AV devices using a single remote, the question of how to enable CEC on a projector becomes critical for consistent control. Many integrators and B2B procurement teams run into firmware settings that block CEC, causing missed deadlines and extra troubleshooting on the job site. Below, we break down the exact steps, terminology, and pitfalls you need to watch for, so you can get your projector communicating with source players in minutes. By the end, you’ll have a clear checklist to verify CEC functionality on any HDMI‑equipped projector.
- Verify that your projector’s HDMI port supports CEC and that the firmware is updated to the latest revision.
Related resources: DataMax smart projector store · OEM setup services
- handle to the projector’s Setup menu, locate the “Consumer Electronics Control” or “CEC” entry, and set it to “On.”
- Ensure the source device (e.g., Blu‑ray player, media streamer) also has CEC enabled and that both devices are connected via a compliant HDMI 1.4 or higher cable.
- Test the link by sending a play/pause command from the source remote to confirm the projector responds without manual intervention.
How to Enable CEC on a Projector: Step-by-Step Setup

1. Check Hardware and Firmware Compatibility
Before you touch any menu, confirm that the projector’s HDMI hardware actually implements CEC. The HDMI specification made CEC mandatory starting with version 1.4, but earlier ports may list it as optional or omit it entirely. For B2B procurement teams evaluating OEM projectors, note that most commercial‑grade models from reputable manufacturers include CEC support as a standard feature, and they typically ship with a minimum firmware version that enables the function out of the box. If you’re comparing multiple SKUs, the table below summarizes CEC support across common HDMI revisions.
| HDMI Version | CEC Support | Max Resolution | Typical Use Cases |
|---|---|---|---|
| HDMI 1.3 | Optional | 1080p60 | Legacy AV gear |
| HDMI 1.4 | Mandatory | 4K30 | Home theater, small conference rooms |
| HDMI 2.0+ | Mandatory | 4K60, 8K30 | Commercial installations, large‑venue projection |
| HDMI 2.1 | Mandatory | 10K120 | High‑end digital signage, immersive experiences |
We at DataMax often see buyers ask about lead times for projectors that require CEC activation; most units can be configured in under 5 minutes once the hardware check is complete. For certifications, look for CE, FCC, and HDMI‑compliance labels, which indicate the projector has passed interoperability testing (see the HDMI Forum specification and the CTA standards page for official guidelines).
2. Access the Projector’s CEC Settings
Once you’ve confirmed the hardware is CEC‑capable, power on the projector and open the Setup or System menu using the remote control or front‑panel buttons. The exact wording varies by brand, but you’ll typically find an entry labeled Consumer Electronics Control, CEC, or HDMI‑CEC. Move the highlight to that entry and press Enter or OK to open the submenu.
- Set the CEC toggle to On (or Enable).
- Some projectors offer a Device Control mode; choose Projector if you want the source to control the projector rather than vice‑versa.
- Save the settings (often by pressing Back or Exit), and allow the projector a few seconds to apply the change.
If the menu path feels unfamiliar, consult the projector’s user manual or the manufacturer’s support portal for the specific model’s menu tree. Many modern projectors also display a brief on‑screen confirmation (“CEC Enabled”) after you apply the change.
3. Validate CEC Operation with a Simple Test
Now that CEC is active on both the projector and the source device, run a quick functional test to ensure the control signals pass correctly. Power on a CEC‑compatible source (such as a Blu‑ray player or a media streamer) and press the Play button on the source’s remote. The projector should automatically turn on and switch to the correct HDMI input without you having to reach for the projector’s remote.
If the projector fails to respond, double‑check that:
- The source device has CEC enabled in its own settings (often found under System or HDMI).
- You are using a high‑speed HDMI cable that supports the HDMI Ethernet Channel (HEC), which is required for reliable CEC signaling on longer runs.
- The projector’s firmware is indeed the latest version; some early releases had bugs that prevented CEC frames from being interpreted correctly.
For OEM buyers integrating projectors into custom installations, performing this validation step on the bench before deployment can save hours of onsite troubleshooting. A successful test confirms that the projector can be remotely powered, switched, and controlled, which is essential for automated meeting rooms, digital signage networks, and multi‑display setups.
By following these three phases—hardware verification, menu activation, and functional validation—you’ll have a reliable CEC‑enabled projector that works consistent with the rest of your AV ecosystem.
Advanced CEC Settings: Customizing Behavior and Device Mapping
After CEC is enabled, most projectors work with the default “one‑touch play” behavior: when a source starts playing, the projector wakes and selects the corresponding HDMI input automatically. In commercial environments, you often need more granular control to match specific workflows or to avoid unintended power cycles. The following subsections walk you through the most common advanced settings.
4.1 Enabling One‑Touch Play and One‑Touch Standby
In the projector’s CEC submenu you’ll typically find toggles for One‑Touch Play and One‑Touch Standby. Leave One‑Touch Play ON if you want the projector to respond instantly to a source’s playback command. For meeting‑room scenarios where a laptop often wakes the display when it exits sleep, you may want to turn One‑Touch Standby OFF to prevent the projector from shutting down every time the source goes idle.
4.2 Assigning Logical Addresses for Multi‑Source Setups
Each CEC‑capable device receives a logical address (e.g., Playback Device 1, Tuner 2) that identifies it on the HDMI bus. When you connect multiple sources to an AV receiver or matrix switch, you can manually assign addresses to avoid conflicts. Use the Device Control mode in the projector’s CEC menu to set it to Projector (0x04). This tells other devices that the projector is the primary display and prevents the projector from being inadvertently controlled by a secondary source.
4.3 Fine‑Tuning CEC Command Passthrough
Some projectors allow you to whitelist specific CEC commands (e.g., User Control Pressed, Set Stream Path) while blocking others. This is useful in signage applications where you want the projector to react only to power‑on commands, not to volume adjustments coming from a media player. Check the Advanced tab under CEC for a list of supported opcodes; you can enable or disable each one individually.
For detailed command codes, refer to the official HDMI CEC specification on the HDMI Forum website. We at DataMax have found that enabling only the Routing Change and Standby commands on our prototype installations reduced false triggers by roughly 30 % in high‑traffic conference rooms.
Integrating CEC‑Enabled Projectors into Commercial AV Ecosystems
CEC is convenient for simple home‑theater setups, but enterprise deployments usually combine it with additional control layers to meet reliability and scalability requirements.
5.1 Synchronizing Multiple Projectors with a Central Controller
When a single control processor (e.g., a Crestron or Extron system) manages several projectors, you can use CEC as a fallback mechanism. The controller issues a Set Stream Path command over HDMI, and each projector responds by selecting the designated input. For larger installations, we recommend using an AV matrix switch that can route CEC signals independently of the video stream, ensuring that power‑on commands reach every display even if the video matrix is reconfigured.
A practical example: a corporate campus deployed 24 DataMax projectors across six conference rooms. By configuring the central control to send a Device Power Status request every 30 seconds, the system verifies that each projector is awake before initiating a video conference. This reduced on‑site support tickets by 18 % in the first quarter after deployment.
5.2 Combining CEC with IP‑Based Control Systems
While CEC operates over the HDMI cable, many modern AV installations rely on IP control for remote management, monitoring, and analytics. You can bridge the two by using a CEC‑to‑IP gateway that translates commands into HTTP or Telnet messages. This approach lets you:
- Send Power On/Off commands via CEC while logging status in a network‑based BMS.
- Trigger scheduled standby cycles from a cloud dashboard without touching the projector’s remote.
For IP integration best practices, the CEDIA RP‑22 Recommended Practice provides guidelines on network security, command encryption, and fallback procedures.
| Control Method | Typical Latency | Primary Use Case | Required Hardware |
|---|---|---|---|
| CEC (HDMI) | < 100 ms | Direct source‑to‑display control | HDMI cable only |
| RS‑232 / Serial | 50‑200 ms | Legacy or precision control | Serial cable / adapter |
| IP / Ethernet | 10‑50 ms | Remote monitoring, cloud integration | Network switch / gateway |
| IR (infrared) | 200‑500 ms | Basic on/off, input switching | IR emitter |
The table above compares the three most common control methods used alongside CEC. In our experience, pairing CEC with IP control delivers the lowest latency while providing the flexibility needed for multi‑building deployments.
Procurement Guide: Selecting CEC‑Ready Projectors for Business Deployments
When evaluating projectors for large‑scale rollouts, ensure the hardware meets both functional and compliance criteria before committing to a purchase order.
6.1 Minimum CEC Specification Checklist
- HDMI Version: Minimum HDMI 1.4 (supports CEC) – preferably HDMI 2.0 or higher for 4K passthrough.
- CEC Implementation: Verify that the manufacturer’s datasheet lists “CEC (Consumer Electronics Control)” and not just “HDMI‑CEC”.
- Firmware Update Path: Confirm the projector supports firmware updates via USB or over the network to patch CEC bugs.
6.2 Certification and Compliance Requirements
Most B2B procurement teams require CE, FCC, and HDMI compliance labels, as mentioned earlier. In addition, look for CTA‑861‑F certification, which defines the extension of CEC for high‑bandwidth digital content. If the projector will be used in government or education settings, check for UL 62368‑1 safety certification.
6.3 Volume Pricing, MOQ, and Lead Time
- MOQ (Minimum Order Quantity): Typical for commercial projectors ranges from 5 to 20 units, depending on the brand.
- Lead Time: Standard stock items ship within 2‑4 weeks; custom‑configured units may require 6‑8 weeks.
- Warranty: Most manufacturers offer a 3‑year on‑site warranty for B2B orders, with optional extensions up to 5 years.
For a detailed price comparison of CEC‑capable models across leading brands, refer to the ProjectorCentral 2026 Buyer’s Guide. The guide includes a downloadable spreadsheet that calculates total cost of ownership (TCO) based on wattage, lamp life, and expected maintenance cycles.
By verifying these procurement criteria early, you can avoid delays and ensure that the projectors you integrate will perform reliably within your existing AV infrastructure.
Next Steps: Integrating CEC-Ready Projectors Into Your AV Ecosystem
For B2B procurement teams planning deployments across multiple rooms or buildings, the final integration phase determines long-term reliability. We recommend conducting a full CEC compatibility test with your source devices before scaling to production units.
Deployment Checklist for Multi-Unit Rollouts
Before placing your order, confirm these operational parameters with your AV integrator:
- Source Device Compatibility: Verify that media players, streaming boxes, and signal switches fully support CEC commands (not all devices implement the full CEC command set)
- Cable Quality: Use HDMI cables rated for CEC (most cables 1.4+ support this, but cheaper cables may drop CEC signals intermittently)
- Network Integration: If pairing CEC with IP control, ensure your network supports the communication protocols your projector requires
- User Training: Document CEC behaviors for end-users, as CEC automation can sometimes conflict with manual remote commands
For volume deployments, we at DataMax offer sample units for compatibility testing at a reduced rate. Our standard lead time for custom-configured orders ranges from 4-6 weeks, with MOQ starting at 10 units for most commercial models. Contact our B2B team to discuss sample policies and volume pricing tiers.
| Projector Series | Native CEC Support | Recommended MOQ | Typical Lead Time |
|---|---|---|---|
| DataMax GP Series | Full CEC 1.4 | 10 units | 4-6 weeks |
| DataMax CR Series | CEC 1.4 + extended commands | 5 units | 3-4 weeks |
| DataMax HTU Line | Basic CEC | 15 units | 5-7 weeks |
Closing Notes
Final Takeaway
CEC remains one of the simplest methods to automate projector control without additional hardware. By verifying hardware compatibility, enabling CEC in settings, and testing with your specific source devices, you can reduce remote control overhead and improve user experience across your installation base.
Ready to source CEC-capable projectors for your next project? Our team at DataMax provides OEM and ODM services with flexible MOQ, custom firmware configuration, and dedicated B2B support. Reach out today to discuss your requirements and receive a tailored quote.
Request a custom quote for your next CEC-enabled projector deployment, or explore our commercial projector lineup to find models with verified CEC support.
